Beeswax Candle Testing: What I Learned From Testing Beeswax Sources and Wicks
I made these candles. I tested them. Some worked, some didn’t—and I’m still testing.
If you’ve ever made beeswax candles, you may have discovered that getting a candle to burn the way you want isn’t always as simple as choosing a wick and pouring the wax.
I’ve learned this through trial and error.
I’ve made beeswax lip balm, anti-chafing balm, deodorant, decorative Christmas tree candles, and scented jar candles. When I started making candles, I expected the process to be fairly straightforward.
It wasn’t.
I’ve tested different wicks, watched candles burn too hot, dealt with soot, tested wicks that weren’t large enough to create a full melt pool, and even discovered that changing my beeswax source affected the appearance of my finished decorative candles.
So rather than simply giving you a recipe and telling you which wick to use, I’m documenting what I’ve actually tested.
This page is my ongoing beeswax candle testing record.
My Beeswax Candle Formula
The formula I’ve been using for my jar candles is:
- 80% beeswax
- 20% coconut oil
- 4:1 beeswax-to-coconut-oil ratio
- 4% fragrance
For my 7-ounce scented jar candles, I have been using approximately 5 grams of fragrance oil.
My jar is approximately 3 inches in diameter, with a finished candle weight of approximately 6.5–7 ounces.
I’m keeping the formula as consistent as possible while testing different wicks so I can better compare the results.
First, I Learned That Beeswax Source Matters
This was one of the more surprising things I’ve learned.
I had been using the same beeswax product for my decorative Christmas tree candles for quite a while. I had successfully made my white, pink, and green trees with it and was accustomed to the finished candles having a clearer appearance.
Then something changed.
My last two orders of that beeswax produced candles with a white, chalky appearance instead of the clearer appearance I was accustomed to.
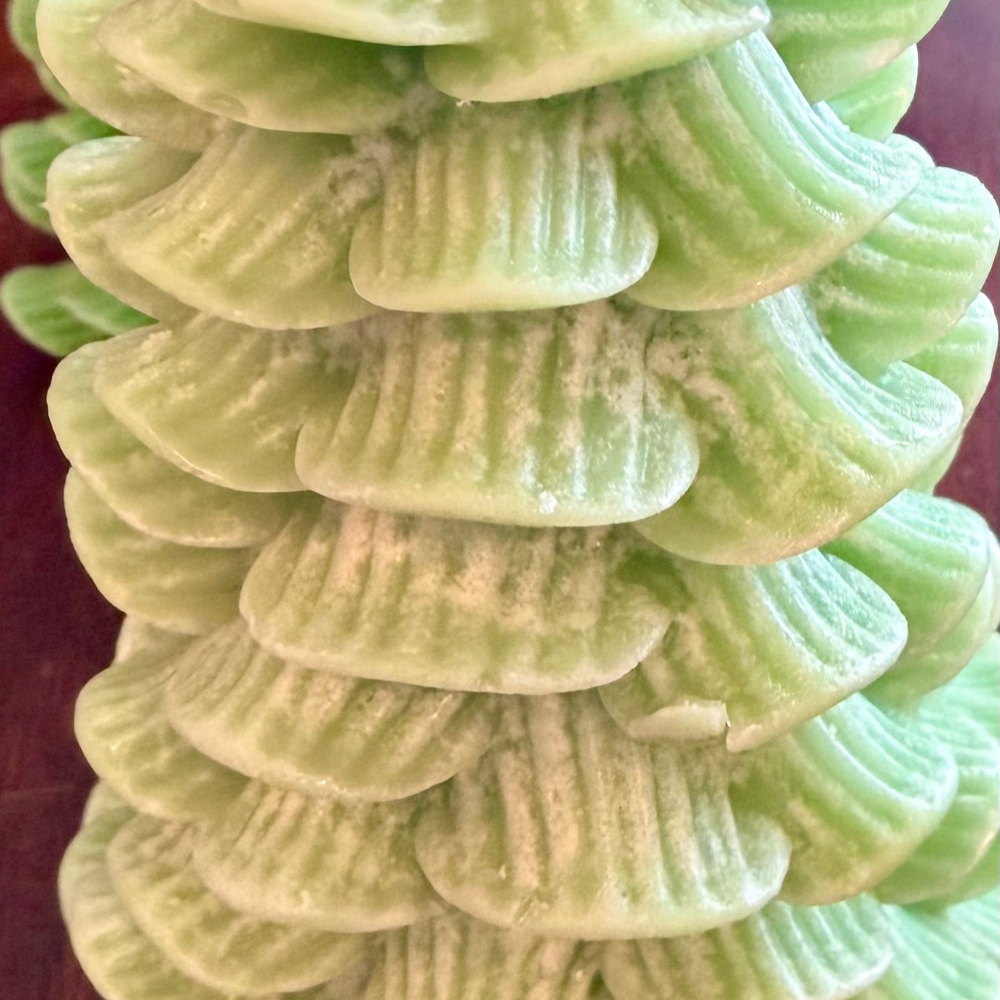
My decorative Christmas tree candle made with the later batches of my original beeswax.
The difference was obvious to me because I had made these candles many times before.
The later batches had:
- A white, chalky appearance
- A cloudier finish
- Less definition in the molded details
- A noticeably different overall appearance
I hadn’t changed the process. I decided to try a different beeswax product.
The new beeswax produced the clearer appearance I was accustomed to seeing.

My decorative Christmas tree candle made after switching to a different beeswax product.
The difference was noticeable:
- The candle was more translucent
- The green color looked cleaner and brighter
- The details of the mold were more defined
- The finished candle had the appearance I was looking for
What I Know From My Testing
I know that I experienced a noticeable difference between the beeswax products/batches I used.
I don’t know exactly what caused the difference.
Was it the source? Processing? The particular batch? Something else?
I haven’t determined that yet.
So I’m documenting what I actually observed rather than making a claim about why it happened.
Lesson learned: I don’t assume that all beeswax will produce the same finished result.
Testing the Wicks
The wick has been an even bigger learning experience.
I started with cotton wicks in my 7-ounce jar candles.
I tried different sizes because I wanted to find a wick that would give me a good melt pool without overheating.
Instead, I kept running into problems.
Cotton Wicks
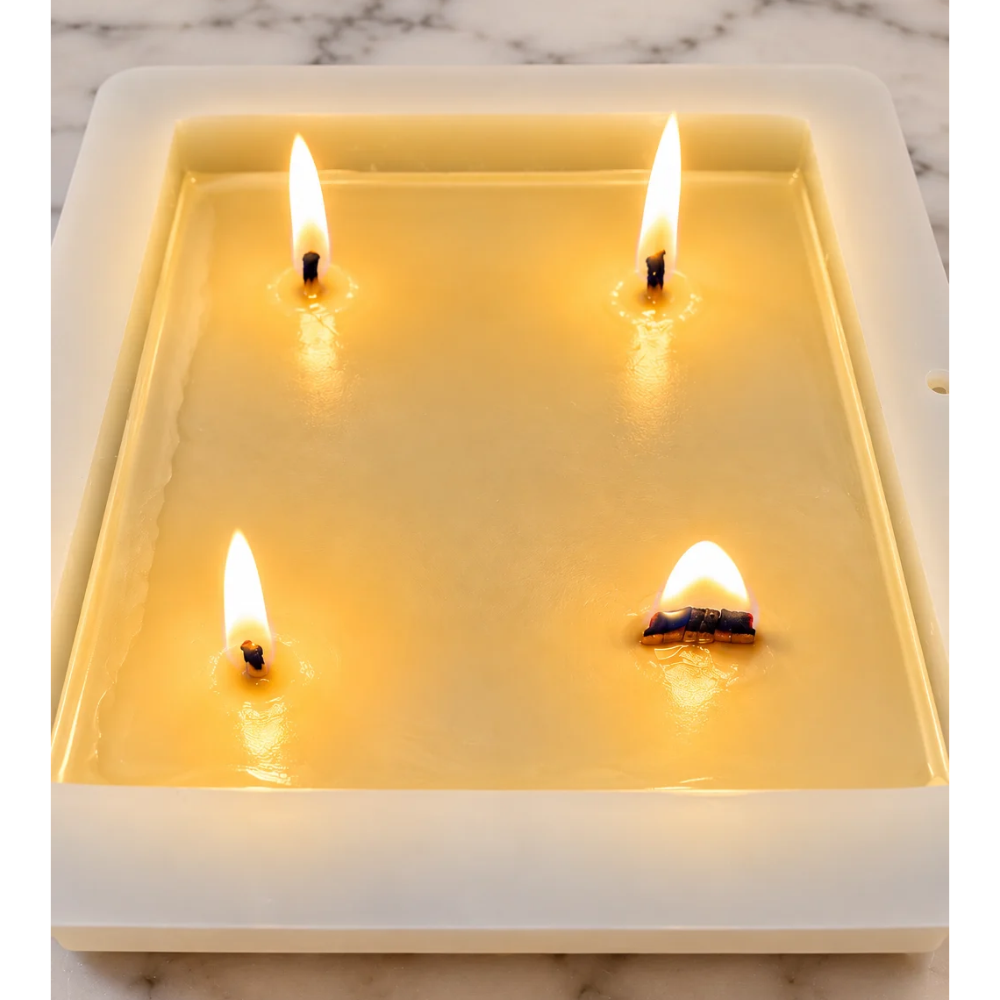
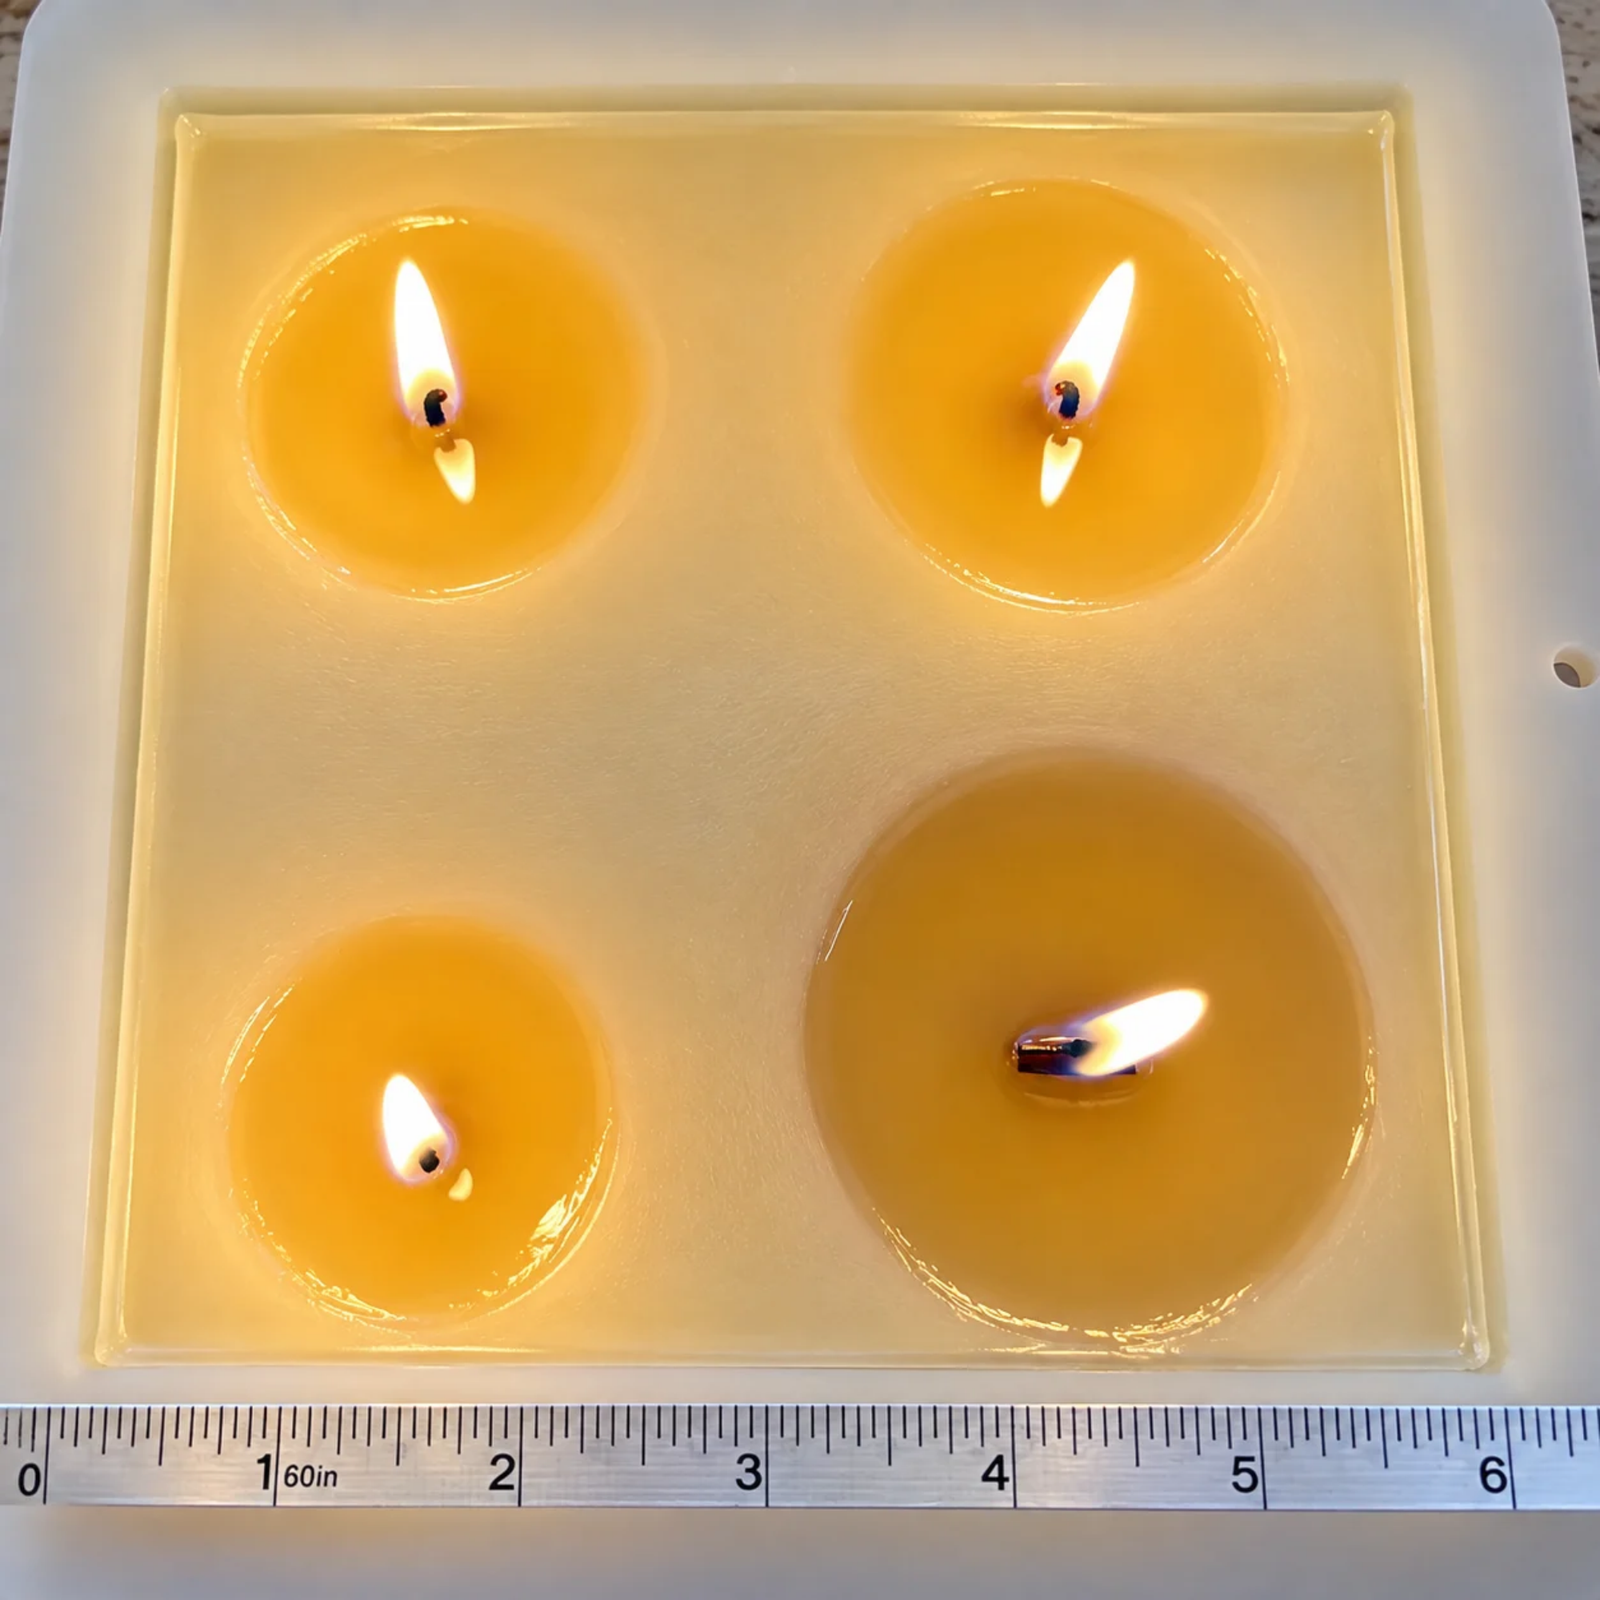
The cotton wicks burned too hot and produced soot.
This happened with the different cotton wick sizes I tested, so I decided to try wooden wicks instead.
Result: Did not work for my candle.
My Wooden Wick Testing
Once I moved to wooden wicks, I started seeing some better results.
But I quickly learned that finding the right wooden wick wasn’t as simple as choosing one that looked like it was the right size.
Different wooden wicks behaved very differently.
Wide Wooden Wick
The wide wooden wick was promising at first.
It burned well initially and was able to create a full melt pool.
But as the candle burned farther down, the behavior changed.
About halfway through the candle, the flame became larger and hotter. Eventually, I started seeing some soot.
So although the wick worked well during the earlier part of the burn, I didn’t consider it a successful wick for the entire candle.
Result: Partially worked, but became too hot as the candle burned down.
Thin Wooden Wick
Next, I tried a thin wooden wick.
This one had almost the opposite problem.
It burned cleanly and consistently, but it didn’t produce enough heat to reach a full melt pool.

I liked the clean burn, but the wick was too small for what I needed.
Result: Too small to create a full melt pool.
Two Small Wooden Wicks Placed Back-to-Back
This is the test I’m currently most interested in.
Instead of using one larger wooden wick, I placed two small wooden wicks back-to-back.
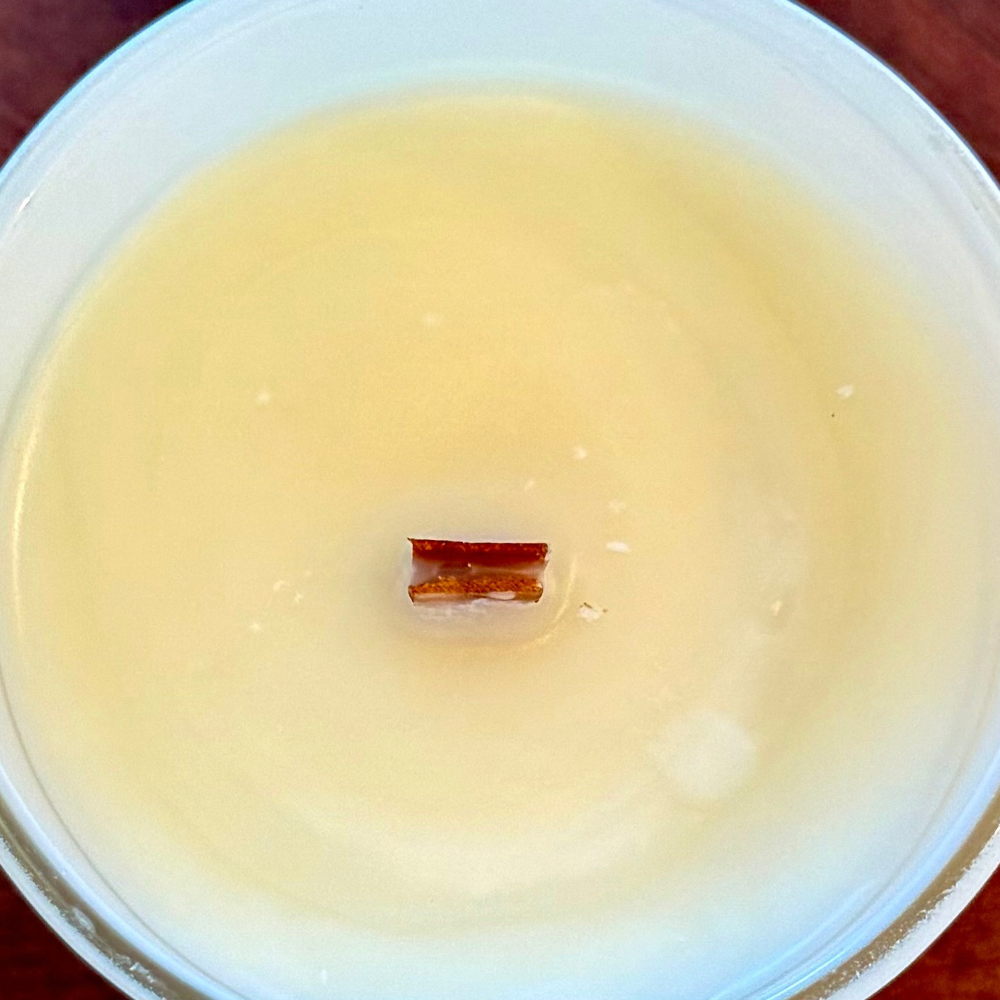
So far, this combination has given me the best results.
I’m seeing a better balance between:
- Flame size
- Melt pool
- Clean burning
- Consistency
But there is one very important word here:
So far.
I’m still testing this combination.
I don’t want to declare it my final wick until I’ve watched the candle continue burning through more of its life.
Current result: Best so far.
Testing status: Ongoing.
My Wick Testing Comparison
| Wick | What I Observed | Result | Status |
|---|---|---|---|
| Cotton — different sizes tested | Burned too hot and produced soot | Did not work for my candle | Tested |
| Wide wooden wick | Good initial burn and full melt pool, but became hotter and produced some soot farther into the candle | Partially worked | Tested |
| Thin wooden wick | Clean burn, but did not create a full melt pool | Too small | Tested |
| Two small wooden wicks, back-to-back | Good burn so far, with a better balance of flame and melt pool | Best so far | Still testing |
What I’ve Learned So Far
After making and testing these candles myself, these are the biggest lessons I’ve taken away.
1. Don’t assume every beeswax product will behave the same.
I’ve personally experienced a noticeable difference between beeswax products/batches, particularly in the appearance of my decorative candles.
2. A wick that looks good at the beginning may not be the right wick for the entire candle.
The wide wooden wick looked promising initially but became too hot farther into the candle.
3. A clean-burning wick isn’t necessarily large enough.
The thin wooden wick burned cleanly but wasn’t producing a full melt pool.
4. Bigger isn’t automatically better.
My experience with the wide wooden wick showed me that creating a large melt pool isn’t the only consideration. The flame also needs to remain appropriately controlled as the candle burns down.
5. Testing takes time.
I’m learning that I can’t judge a wick based only on the first burn.
I need to watch how the candle behaves as the wax level drops.
My Current Test Status
Candle: Approximately 7-ounce scented jar candle
Jar: Approximately 3 inches in diameter
Formula: 4:1 beeswax to coconut oil
Fragrance: 4%
Current wick being tested: Two small wooden wicks placed back-to-back
Current result: Best so far
Final wick selection: Not determined yet
I’m continuing to test before I consider this formula and wick combination finished.
Why I’m Documenting the Failures Too
One thing I’ve decided to do differently with my homemade projects is document more than just the successful recipe.
It’s easy to look at a finished candle and think:
“That worked!”
But you don’t see all the candles that came before it.
You don’t see the wicks that burned too hot.
You don’t see the soot.
You don’t see the wick that wasn’t large enough.
You don’t see the candle that looked beautiful halfway through its life and then became too hot.
Those failures are actually some of the most useful information I’ve collected.
So I’m keeping them.
My Candle Testing Notes
As I continue testing, I’m recording:
- Beeswax source
- Beeswax batch
- Beeswax-to-coconut-oil ratio
- Fragrance
- Fragrance percentage
- Jar diameter
- Candle weight
- Wick type and size
- Burn time
- Melt pool
- Flame behavior
- Soot or smoke
- Jar temperature
- Changes as the candle burns down
- What I would change in the next test
The goal isn’t to find a recipe that simply sounds good on paper.
The goal is to find out what actually works in my candles.
A Note About My Testing
This is my personal, ongoing testing record. My results may not be identical to someone else’s because changing the beeswax, coconut oil, fragrance, wick, container, wick placement, or other variables can change how a candle burns.
I’m documenting what happened in my own testing so I can learn from it and make better candles.
This page will be updated as my testing continues.
The Takeaway
If there’s one thing I’ve learned from making beeswax candles, it’s this:
The recipe is only the beginning.
The real work happens when you light the candle and watch what it does.
I’ve learned more from the candles that didn’t work than I expected—and I’m still learning from every test.
For now, two small wooden wicks placed back-to-back are giving me my best results in my 7-ounce candle, but the testing isn’t finished yet.
I’ll continue documenting what I find as the testing continues.
Better candles come from real testing.
Amazon Storefront to buy candle making supplies.