
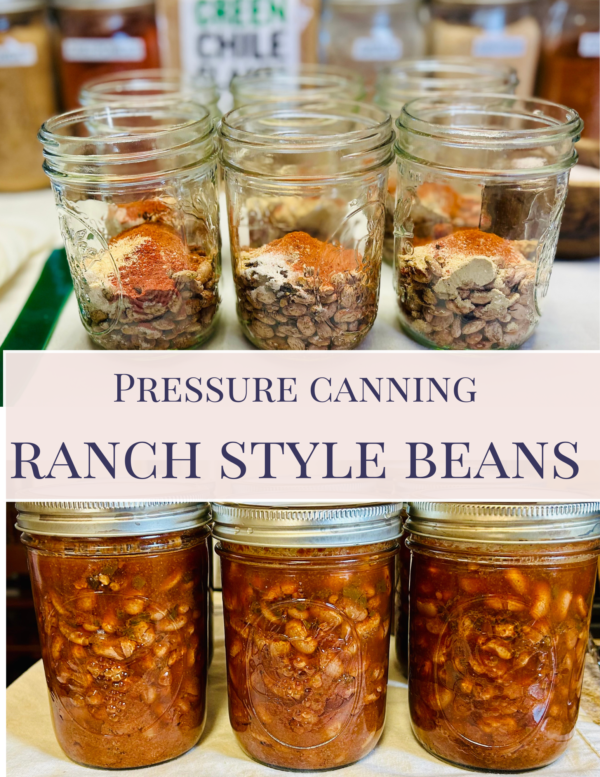
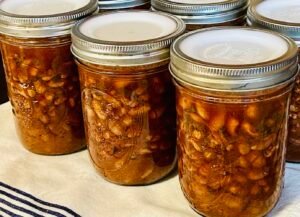
Canning Ranch Style Beans
Why I Love Canning Ranch Style Beans
Canning homemade ranch style beans is a great way to keep a flavorful, hearty side dish stocked in the pantry. These seasoned beans are perfect for quick meals and pair well with many comfort foods and Tex-Mex recipes. Having jars of homemade ranch style beans ready to heat and serve makes busy weeknight dinners much easier.
One of my favorite things about making ranch style beans from scratch is being able to control the ingredients and seasonings. Homemade versions can be adjusted to fit your family’s taste while avoiding unnecessary preservatives often found in store-bought canned foods.
Enjoy your homemade ranch-style beans in chili, burritos, or as a hearty side dish!
Best Ways to Serve Ranch Style Beans
Homemade ranch style beans are versatile and can be served in many different ways. Their rich flavor makes them a delicious addition to simple homemade meals.
Here are a few serving ideas:
- Tacos and burritos
- Cornbread and chili
- Barbecue dinners
- Nachos and taco salads
- Breakfast burritos
- Rice bowls
- Grilled meats
- Southwest casseroles
- Potluck meals
Keeping ranch style beans in the pantry makes it easy to prepare quick homemade meals with minimal effort.
Why Homemade Pantry Foods Matter
Learning traditional food preservation skills can help create a more prepared and intentional kitchen. Home canned foods make it easier to serve homemade meals while saving both time and money.
There is something rewarding about seeing jars of homemade ranch style beans lined up on pantry shelves, ready to enjoy whenever needed. Home canning helps preserve simple ingredients and supports a more homemade lifestyle centered around wholesome foods and practical kitchen skills.
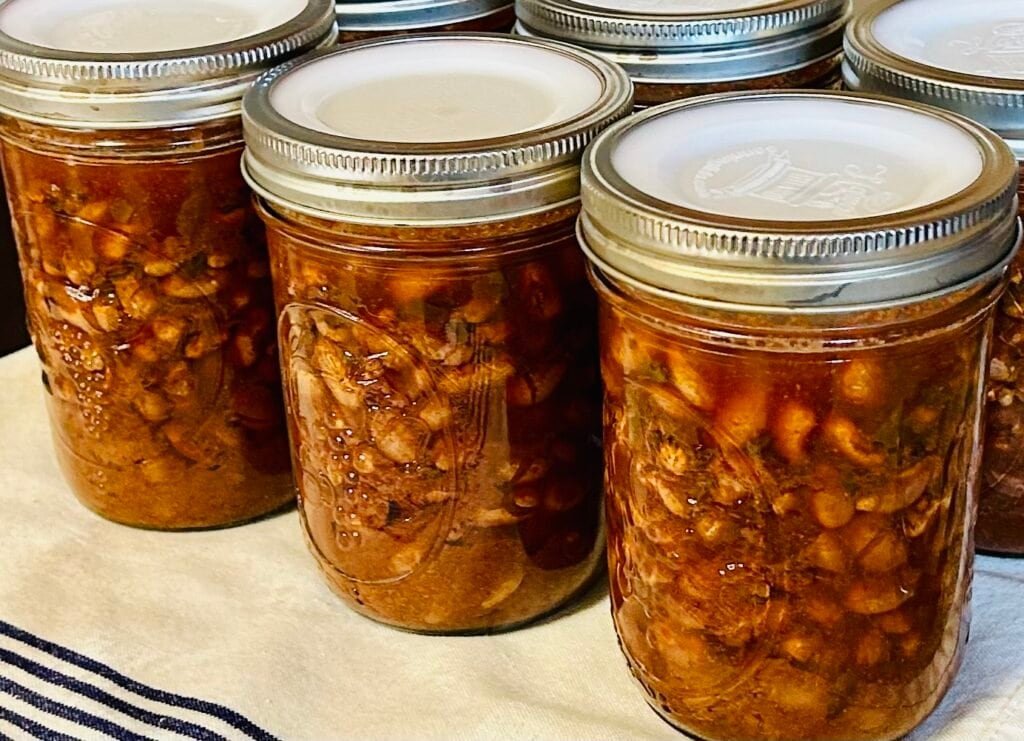
I use an Electric Pressure Canner ( instructions in the note section) a modern twist on traditional canning methods. It makes canning easier and less intimidating. If your new to canning I recommend a electric pressure canner over a traditional pressure canner. The electric canner can also be used for water bath canning. I can 7 wide mouth pint jars of beans at a time in my electric canner.
Looking to try other canned bean recipes try this one for pinto beans.
Ranch Style Beans
Equipment
- Pressure canner
- funnel
- Debubbler
- Pint Jars
- Lids
- Rings
- Strainer
Ingredients
- 1/2 cup dry pinto beans per jar
- 1/2 tsp salt per jar
- 1/2 tsp paprika per jar
- 1/2 tsp cumin per jar
- 1/2 tsp onion powder per jar
- 1/2 tsp garlic powder per jar
- 1/2 tsp chili powder per jar
- 1 tsp green Chile Flakes per jar
- 1 tsp tomato powder per jar
- Hot water boiled
Instructions
- Measure out beans and add them into a strainer. For pints you will need 1/2 a cup of beans for every pint jar. Rinse them thoroughly in cold water and remove any debris or pebbles.
- In a large stock pot add hot water and bring it to a boil. Once it is boiling set it aside.
- Prepare your jars, lids, and bands.
- Add water to your pressure canner up to the bottom fill line. Turn the burner on low heat to begin heating the water.
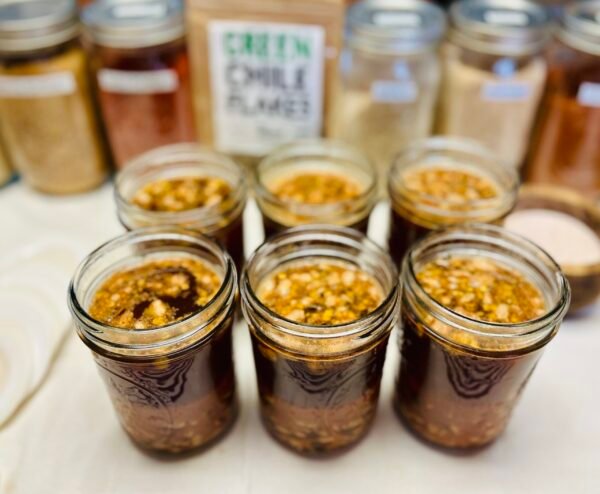
- Scoop 1/2 cup of washed beans to your jars. Add salt, paprika, cumin, onion powder, garlic powder, chili powder, green Chile flake and tomato powder to each jar.

- Pour the boiling hot water over the dry beans. Leave 1 inch headspace.

- Wipe the rim of each jar. Place your clean lids onto each jar and add a ring. Don’t over tighten the rings but ensure they are on finger tight.
- Add your jars into heated water in your canner. Place your lid on and ensure it is locked. Turn up the heat on your stove. Once you see a steady stream of steam coming from the vent start the timer for 10 minutes. Dry beans need to process at 10 pounds of pressure. Allow it to vent for 10 minutes and then place your weighted gauge on the canner. Once the weighted gauge begins to rock start your timer for 75 minutes for pints.
- After the allotted processing time turn the burner off. Do not do anything to the canner. Allow the canner to cool naturally until the air vent has gone back down. Once the air vent goes back down remove the pressure regulator or weight whichever your canner has. Allow the canner to set for 10 minutes. After 10 minutes open your canner and using the jar lifter remove the jars from the canner.
- Place jars on the counter undisturbed for 24 hours. After 24 hours remove rings and check the seal. Any unsealed jars go into the refrigerator to be used first.

- Store sealed jars without rings to make sure the jars stay sealed. Don’t use a canned food on the shelf if you can take the lid off easily by hand.

Notes
- Insert the removable pot into the canner body and place the rack inside with its feet down.
- Add 3 quarts of water to the canner, which will reach the fill line. Fill each clean jar you’re using halfway with water and place inside canner to warm the jars.
- Set the mode:Press the control knob to select the desired mode (“Pressure Can”).
- Set the time:Rotate the control knob to set the correct processing time from your recipe, then press the control knob to confirm.
- Insert jars:The display will show “Insert Jars”. Use jar lifters to take out the jars, and dump out the water. Fill jars with food according to your recipe, and place them back on the rack.
- Lock the lid:Place the lid on the canner and lock it by lowering the sensor arm and turning the green latch clockwise.
- Start warming:Press the advance button to begin the warming phase. The “warm” lightCanning and cooling
- Venting:The canner will signal when the warming phase is complete and it’s time to vent. Once the vent light is on and the 10-minute countdown is finished, the unit will beep and the display will say “Put regulator on”.
- Place regulator:Using a pot holder, carefully place the regulator on the vent pipe and rotate it to the “Can” position.
- Start canning:Press the advance button to start the canning phase. The “Can” light will illuminate and the timer will start once the correct pressure is reached.
- Cooling:When the processing time is over, the canner will beep and the “Cool” light will turn on. Allow the canner to cool down completely. The air vent cover lock must drop before the lid can be opened.
- Finish:Once the “Done” light appears, press and hold the cancel button for 3 seconds. Remove the lid and use jar lifters to take out the jars, placing them on a towel to cool for 24 hours.




Where do you buy tomato powder? Are there any substitutes?
I buy tomato powder online on amazon. I’ve never tried a substitute, but I’m sure 2 teaspoons tomato sauce would work well in its place.
I make tomato powder by grinding dried tomato skins. You could probably substitute tomato paste for the powder.
That’s a great idea as well, thank you for that suggestion!
“Tried it, just did it today, seems like 1/2 cup was too little for a pint. Can’t wait to try it. I also had to dehydrate my green peppers myself as that seemed impossible to find at the stores as well. 😁 easy to make and I used the old school pressure canner, a breeze!!
Dried peppers are hard to find in the store; I order mine on Amazon. I like that you dehydrated some to use as an alternative to store bought ones.
Can I get instructions on how you can the ranch beans in your electric pressure canner?Can
I have added Electric pressure canner instructions to the note section.
This recipe was perfect! Used organic glycophosphate beans and Sonoran Spice hatch green chili flakes. If you are not a “spicy” person, you may want to use just 1/2 tsp of the chilis. Their heat varies a lot from year to year, and depending on supplier. I will continue to use 1 tsp. Just perfect! Follow the recipe exactly!