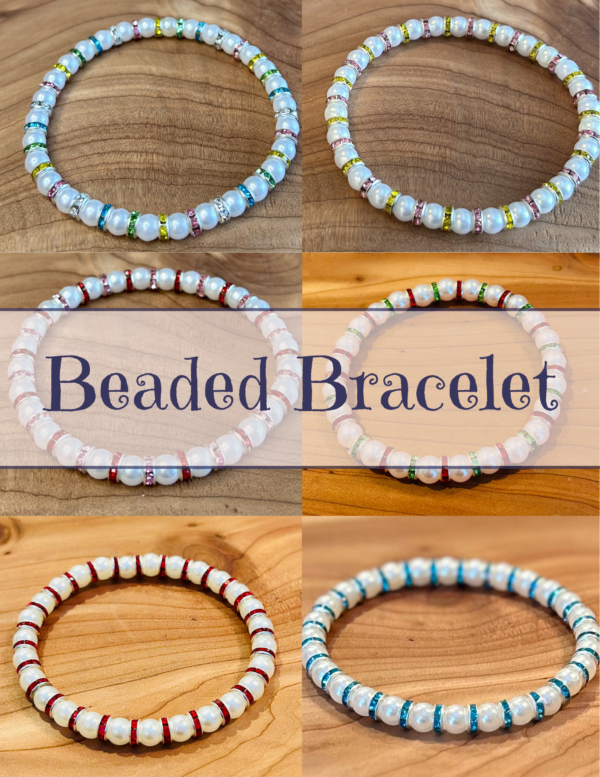
How to Make a Beaded Bracelet with Pearl & Rhinestone Spacers
If you love elegant, feminine jewelry, beaded bracelets with pearl and rhinestone spacers are a must-have. They add a touch of sparkle, class, and beauty to any outfit—and the best part is, you can easily make them at home.
In this tutorial, I’ll show you step-by-step how to create your own stretch bracelet using pearl beads and rhinestone spacers.
Why Beaded Bracelet with Pearls & Rhinestone Spacers?
Pearls bring a soft, timeless elegance, while rhinestone spacers add just the right amount of bling. Together, they create a bracelet that feels both classic and eye-catching.
Perfect for:
handmade shop collections
Everyday wear
Gifts
Bridesmaids jewelry
Supplies You’ll Need for your Beaded Bracelet
Sting glue (optional but recommended),
Glass or acrylic pearl beads
Rhinestone spacer beads
Stretch cord (0.5mm works best)
Scissors
Bead stopper or tape
Beading needle (optional but recommended)
You can find everything I use on my Amazon Store Front
Step 1: Measure Your Wrist
Measure your wrist just below the wrist bone.
👉 Add about ½ inch for a comfortable fit
(Example: 6.5” wrist = 7” bracelet)
Step 2: Plan Your Design
Lay out your beads before stringing.
Popular patterns:
- Pearl → Spacer → Pearl → Spacer
- 3 Pearls → 1 Spacer
- All pearls with 2–3 spacers as accents
This step helps you visualize your bracelet before assembling.
Step 3: Cut Your Stretch Cord
Cut about 10–12 inches of cord to give yourself room to tie knots.
Place tape or a bead stopper on one end so beads don’t slide off.
I personally don’t cut the string off of the spool until I have finished stringing the bracelet.
Step 4: String Your Beads
If use a beading needle attach your string to it and leave the rest of the string on the spool. This way you don’t have to worry about the bead fall off or the string being to short when you’re done (if you were to cut the string length first).
Begin adding your beads in your chosen pattern.
Tip:
Keep checking the length as you go to make sure it fits your wrist size.
Step 5: Tie a Secure Knot
Once finished:
- Tie a surgeon’s knot
- Pull tight
- Tie a over hand knot
- Pull the two stings to tighten that knot
- Add a small drop of glue (optional for extra security)
- Then tie one more knot
- Cut off extra sting
Step 6: Hide the Knot
Slide the knot into a bead (preferably a pearl or spacer) so it’s hidden.
This gives your bracelet a clean, professional look.
Tips for a Professional Finish
- Don’t overstretch the cord while making
- Use high-quality elastic for durability
- Keep bead sizes consistent (or intentionally patterned)
- Add a charm or cross for a faith-inspired design
Make It Your Own
You can customize your bracelet with:
- Colored pearls
- Different color spacers
- Scripture charms
- Birthstone accents
Final Thoughts
Making your own beaded bracelet is simple, relaxing, and rewarding. Whether you’re creating for yourself, gifts, or your shop, this design is always a favorite.
Beaded Bracelet
Equipment
- 30 white 6mm pearl beads
- 30 rhinestone 6mm spacers
- 0.5mm magic stretch cord
- string glue optional
Instructions
- Alternate pearls and spacers on stretch cord until it measures 7 to 8 inches depending on the size you need.
- Tie a surgeons knot, pull tight, then tie a overhand knot, pull tight. place a drop of glue if using then tie one more knot.
- Cut excess string off and hide the knot inside the beads
You can find everything I use on my Amazon Store Front