
Why I Love Canning Pinto Beans
Canning pinto beans at home is one of my favorite ways to save time in the kitchen while keeping wholesome ingredients stocked in the pantry. Homemade canned beans are convenient for busy days and can be used in soups, chili, tacos, burritos, casseroles, and side dishes. I also love knowing exactly what goes into each jar without unnecessary preservatives or additives.
Another reason I enjoy canning dry beans is the long shelf life. Having jars of ready-to-use pinto beans on hand makes meal planning easier and helps reduce food waste. It’s a simple way to prepare homemade convenience food while using affordable pantry staples.
Best Ways to Use Canned Pinto Beans
Once your jars are ready, there are so many delicious ways to use home canned pinto beans. They can be heated and seasoned as a quick side dish, mashed into homemade refried beans, or added to soups and stews for extra protein and flavor.
Here are a few easy meal ideas:
- Homemade chili
- Taco bowls
- Burritos
- Bean soups
- Southwest salads
- Refried beans
- Cowboy caviar
- Slow cooker meals
Keeping canned beans in the pantry can make homemade meals faster and more convenient throughout the week.
Why Homemade Pantry Staples Matter
Learning traditional kitchen skills like canning can help create a more intentional and prepared home. Homemade pantry staples can save money, reduce trips to the grocery store, and provide peace of mind knowing meals are always within reach.
There’s something satisfying about seeing rows of filled jars on the pantry shelf. Home canning is not only practical, but it’s also a rewarding way to preserve simple ingredients for everyday use.
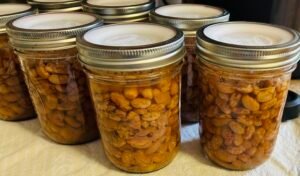
I use an Electric Pressure Canner a modern twist on traditional canning methods. It makes canning easier and less intimidating. If your new to canning I recommend a electric pressure canner over a traditional pressure canner. The electric canner can also be used for water bath canning. I can 7 wide mouth pint jars of pinto beans at a time in my electric canner.
Use to make homemade refried beans!

Pressure Canning Pinto Beans
Equipment
- Pressure canner
- funnel
- Debubbler
- Pint Jars
- Lids
- Rings
- Strainer
Ingredients
- 1/2 cup Dry beans per jar
- 3/4 tsp Salt per jar
- 1 tsp Garlic Powder per jar
- 1/2 tsp cumin per jar
- Hot water Boiled
Instructions
- Measure out beans and add them into a strainer. For pints you will need 1/2 a cup of beans for every pint jar. Rinse them thoroughly in cold water and remove any debris or pebbles.
- In a large stock pot add hot water and bring it to a boil. Once it is boiling set it aside.
- Prepare your jars, lids, and bands.
- Add water to your pressure canner up to the bottom fill line. Turn the burner on low heat to begin heating the water.
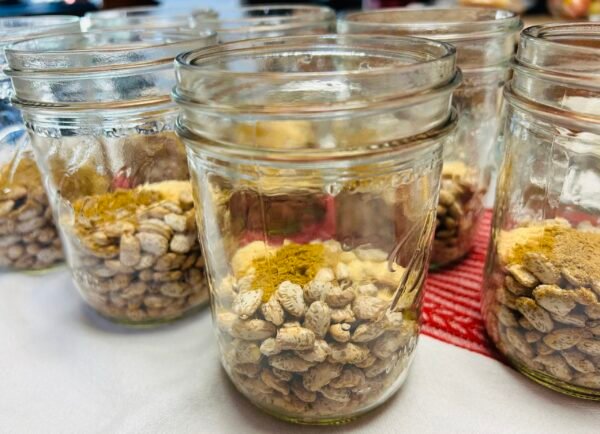
- Scoop 1/2 cup of washed beans to your jars. Add 3/4 teaspoon of salt to each jar. Add 1 teaspoon of garlic powder to each jar. Add 1/2 teaspoon of cumin to each jar.

- Pour the boiling hot water over the dry beans. Leave 1 inch headspace.
- Wipe the rim of each jar. Place your clean lids onto each jar and add a ring. Don't over tighten the rings but ensure they are on finger tight.
- Add your jars into heated water in your canner. Place your lid on and ensure it is locked. Turn up the heat on your stove. Once you see a steady stream of steam coming from the vent start the timer for 10 minutes. Dry beans need to process at 10 pounds of pressure. Allow it to vent for 10 minutes and then place your weighted gauge on the canner. Once the weighted gauge begins to rock start your timer for 75 minutes for pints.
- After the allotted processing time turn the burner off. Do not do anything to the canner. Allow the canner to cool naturally until the air vent has gone back down. Once the air vent goes back down remove the pressure regulator or weight whichever your canner has. Allow the canner to set for 10 minutes. After 10 minutes open your canner and using the jar lifter remove the jars from the canner.
- Place jars on the counter undisturbed for 24 hours. After 24 hours remove rings and check the seal. Any unsealed jars go into the refrigerator to be used first.
- Store sealed jars without rings to make sure the jars stay sealed. Don't use a canned food on the shelf if you can take the lid off easily by hand.
Notes
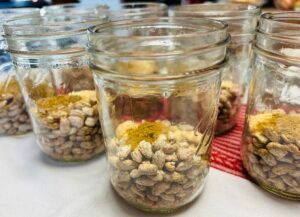
Add the soaked or expanded beans into jars, leaving 1 inch of headspace. Then pour hot water over the beans, ensuring they are fully covered while maintaining the 1-inch headspace.





If you use 1/2 cup of dried beans per pint, what is the measurement for presoaked beans per pint?
1/2 cup of dried beans will expand to approximately 1 to 2 cups of beans. Add the soaked or expanded beans into jars, leaving 1 inch of headspace. Then pour hot water over the beans, ensuring they are fully covered while maintaining the 1-inch headspace.
I measure out a half cup beans for each jar I plan to can before soaking, and then divide the soaked beans between my planned number of jars. If I want to can 6 pints, I measure out 3 cups dried beans, and then just evenly divide the soaked beans between my 6 jars.
Yes, exactly! For 6 pints, measure out 3 cups of dried beans before soaking (½ cup per jar). After soaking, divide the soaked beans evenly among the 6 jars. Since each ½ cup of dried beans will expand to about 1½–2 cups after soaking, you’ll have approximately 9–12 cups of soaked beans total. That means you’ll add about 1½–2 cups of soaked beans to each pint jar, depending on how much your beans expanded. Leave 1 inch of headspace, then add hot water to cover the beans while maintaining that 1-inch headspace.